
Notebooking Spotlight: Science/Lab Notebooks
How to organize your science/lab notebooks

Dear Mother-Teacher,
Notebooking in science includes illustrations, narration, and charts. The notebooks record the year's lessons in one simple location. Below, I will share how you can modify notebooking for each form.
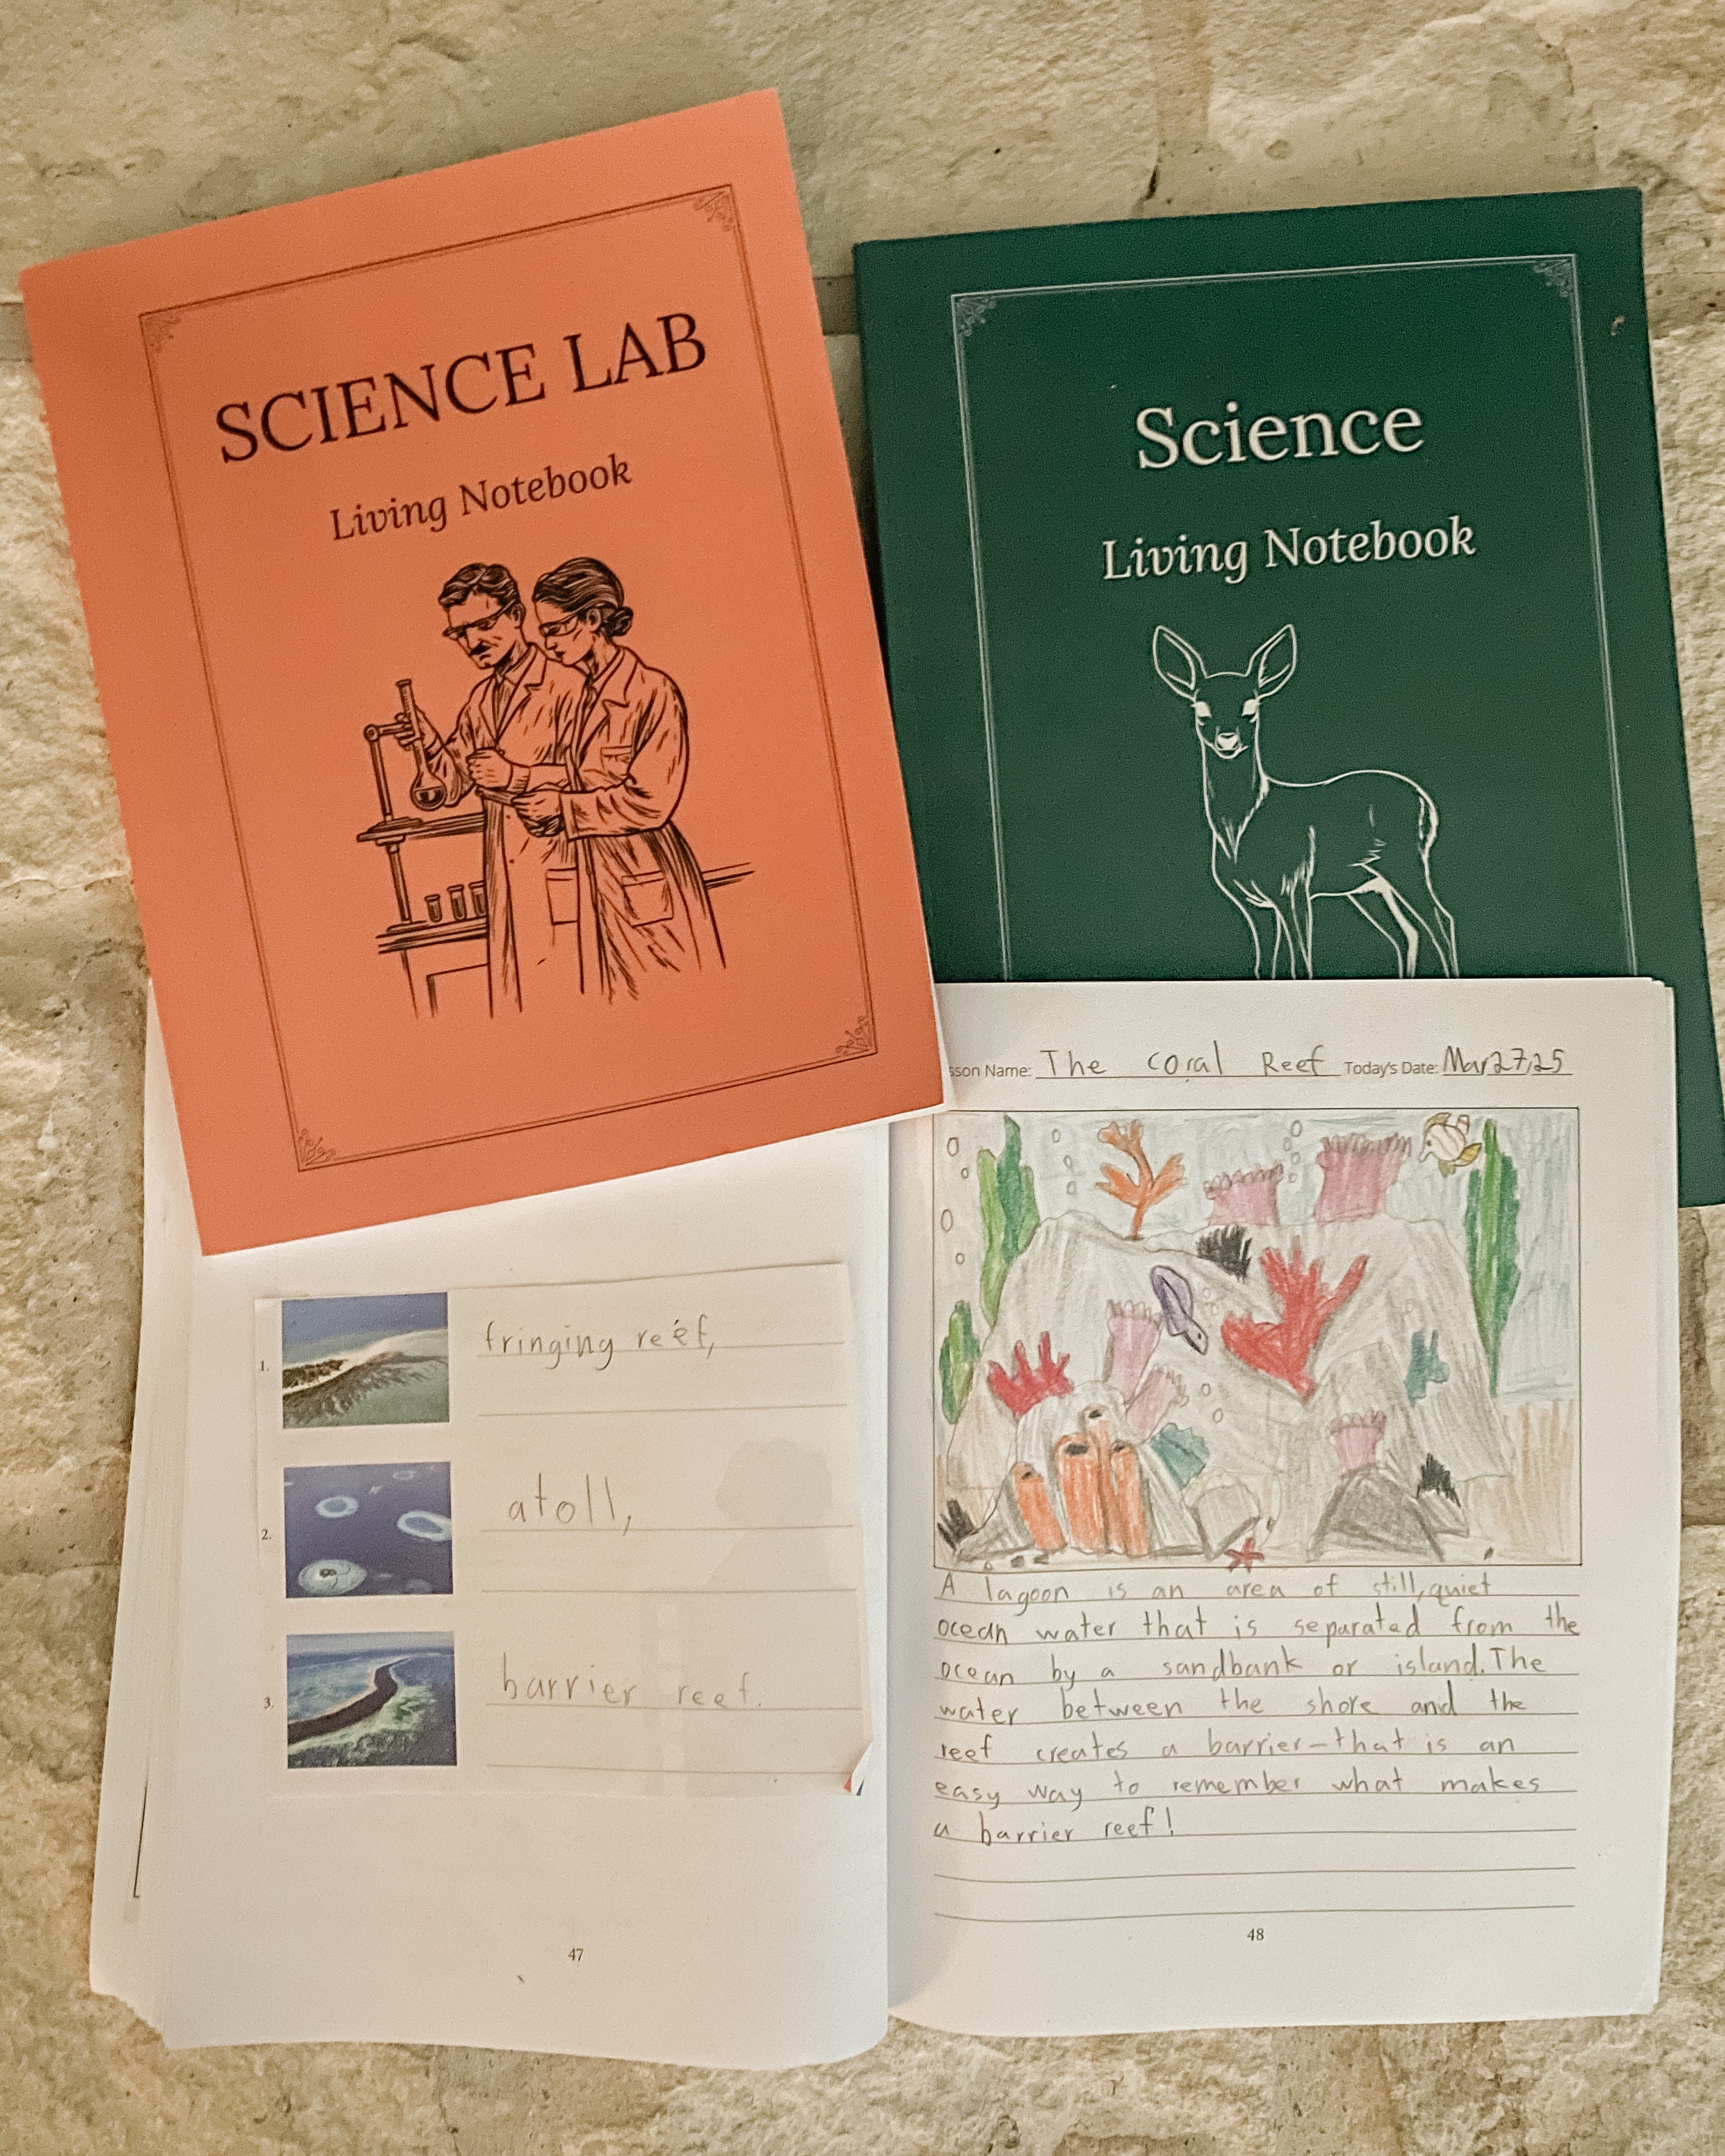
Form I: Students are to draw a picture based on their learning. You can copy a chart to place on the left-hand side. Narrations can be oral. As the parent teacher, you can write down the students' narration until they are ready to write down their own.
Form II: Students are to draw their illustrations and write down their narrations. You can continue to guide them on the left-hand page.
Form III: Students are to illustrate the lesson, write down their narration, and should start adding information on the left-hand side on their own.
Form IV: Students should complete their notebooks 100% on their own.
The great thing about notebooking is that the notebook stays the same, and the information changes.
Also, I would like to introduce a new addition to my collection of notebooks: a lab notebook. The right-hand side will be for the lab report, and the left-hand side will be for illustrations and charts.
Does this post help you out in the art of notebooking?
Yours faithfully,
Mirley
P.S. Check out the resources to help you simplify, organize, and beautify your homeschool.
Follow me on Instagram for more tips on notebooking, mother culture, and homeschooling.
Explore my Notebooking Catalog for interactive notebooks, exam books, and more tools that I have created for mother-teachers.
Explore my Amazon Storefront for my favorite books and homeschool resources.
Thank you for reading, and may your homeschool bring you joy.